DIY – Halloween house basket
As Halloween is approaching, shadows dancing and ghosts waking up, it’s time to prepare your basket to be ready for the greatest night adventures. Imagine a hand-made basket, decorated with mysteries and shivers, perfect to collect sweet treasures during this enchanted night.
With some simple materials and a pinch of creativity, you can create a masterpiece that will dazzle the youngest and oldest treat hunters. Enter the magic universe of the DIY and let your imagination create an original basket for an unforgettable night.
Equipment list
- A plain felt basket
- Flat wood sticks, 1cm and 2cm wide
- Several material scraps: fabric, paper and felt, mat or sequined, charms, chenille yarn, masking tape, wool, pompoms, etc
- Wood letters, to write the name(s) of your kid(s)
- Hot glue gun
- Box cutter and scissors
- Pencil and compass
- Some emery cloth to sand the creation
- Black pen and a “blush”-color pencil for ghost cheeks
- Watercolor and paintbrush (or acrylic paint)
- Adhesive sheet (optional but convenient)

Steps:
Step 1️: House base
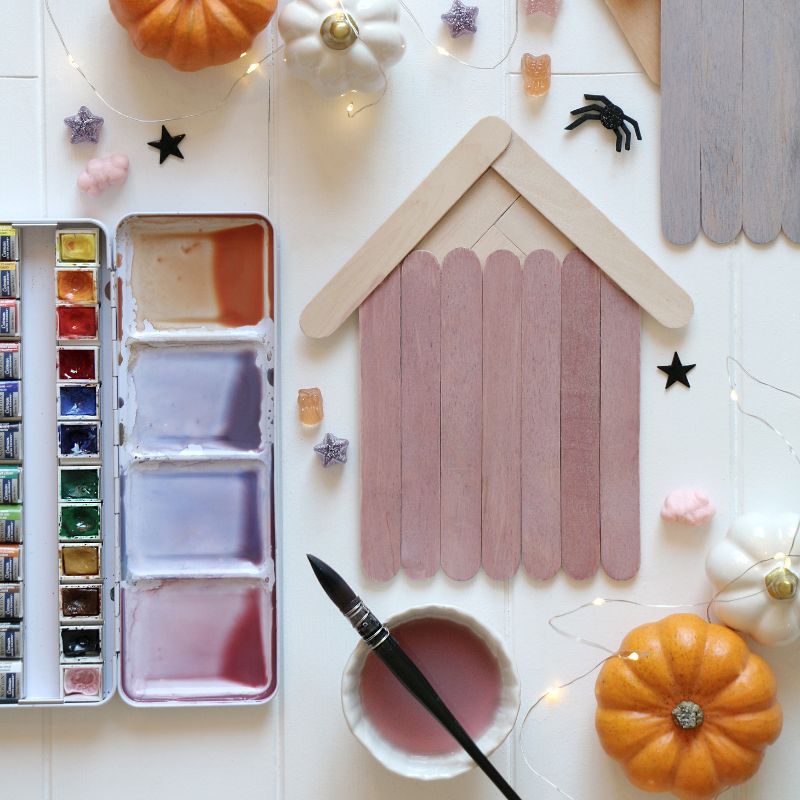
To do the house base, take 7 wood sticks and put them side by side face down on the table. Hold them all by gluing two sticks with hot glue.

Step 2️: House roof
Then create the roof. Take the adhesive sheet and put 7 wood sticks on it, face down in staggered rows, as shown on the picture. Cut the top of the last stick following the curve.

Hold and glue them all using sticks (like the house base) and make sure to glue a little piece at the top of the triangle. Remove the adhesive sheet and cut the base of the triangle.

Step 3️: House
Turn over both pieces of the house to have the faces in front of you. Put the roof behind the base and glue them together. Cut 2 sticks to 13cm and round their ends (sand them to have a perfect finish). Glue them at the top of the roof.

Step 4: Door
Create the door the same way you did for the base and cut the top to round it.

Step 5: Painting
Color your house, for instance paint the base. You may use watercolor or acrylic paint.

Step 6: Decorations
Glue the door at the center of the house and put the letters of your kid(s) name(s) all around.

Create some Halloween decorations for your house. Use black felt for pumpkin, bat or cat silhouettes. Cut ghost shapes in white fabric, draw their eyes with a pen and color their cheeks. Wool and toothpicks may be used to create a witch broom. Don’t forget spiders and stars (…it’s night time!)

Do a nice composition and glue each decoration on the house(s).

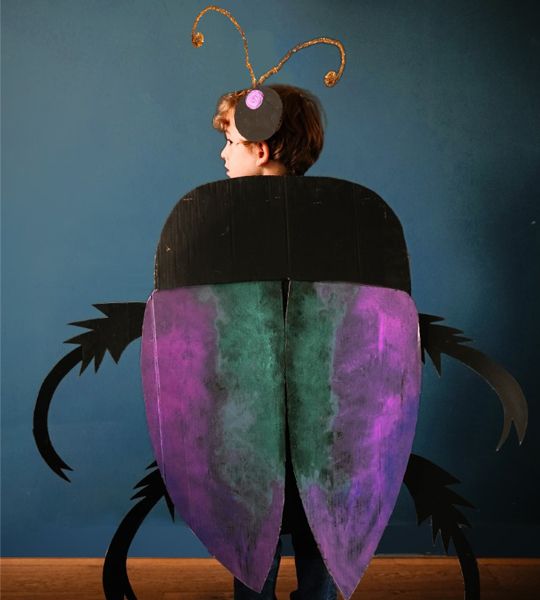
Remove the elements of the felt basket that you don’t like (here the spider’s legs) and glue the house on one side using hot glue. Wear your Pierrot Gourmand outfit and go for a hunt to Cumulonimbus, The Great Bear and Once Upon A Time gummies on the 31st night!

Make a House Basket DIY for a magic treat hunt
Halloween treat hunt is a magic tradition when kids, in fantastic outfits, go all over the streets to find treats. At nightfall, houses turn into mysterious places, decorated with jack-o’-lanterns and spider’s webs. Young adventurers, baskets in their hands, knock at the doors saying the famous "Trick or treat!" and leave with arms full of treats. It’s a time of sharing and happiness, when imagination and togetherness are the most important and create unforgettable memories for kids and adults.


